


Transfer Files with Cyberduck on Mac OS X
Updated by Linode Written by Linode
DeprecatedThis guide has been deprecated and is no longer being maintained.
Cyberduck is a free, open source file transfer program written for Mac OS X. It implements several file transfer protocols, most notably SFTP via SSH. This tool allows you to securely transfer files to and from your Linode using an encrypted channel, avoiding the security problems and usability issues inherent in traditional FTP client/server systems. Cyberduck can send both your login credentials and file transfers over the network securely encrypted (provided you’re using SFTP), while standard FTP clients send this information as plaintext.
You’ll need to make sure your Linode is running an SSH daemon (all Linodes run an OpenSSH server by default), and that you have a user account on the server before following these instructions. If you wish, you may use the root account on your Linode to perform file transfers, although you may need to change file ownership and permissions on the server after doing so.
Obtaining and Installing Cyberduck
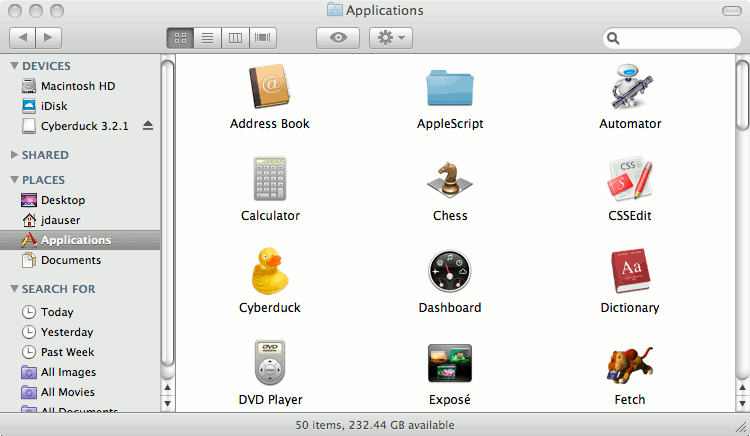
You can obtain the software from the Cyberduck home page. Click the link for the “dmg” installation image. You may save the file to your desktop and double-click it to view its contents, or you may instruct your browser to open it automatically. The contents of the installation image will resemble this:

Copy the “Cyberduck” file shown above to your “Applications” folder by dragging it, as shown here:
You may wish to drag the Cyberduck icon from the “Applications” folder to your dock to provide easy access to the program.
Using Cyberduck
Run the program by single-clicking its icon on the dock or by double-clicking the icon in “Applications” folder. You’ll be presented with the main program window:
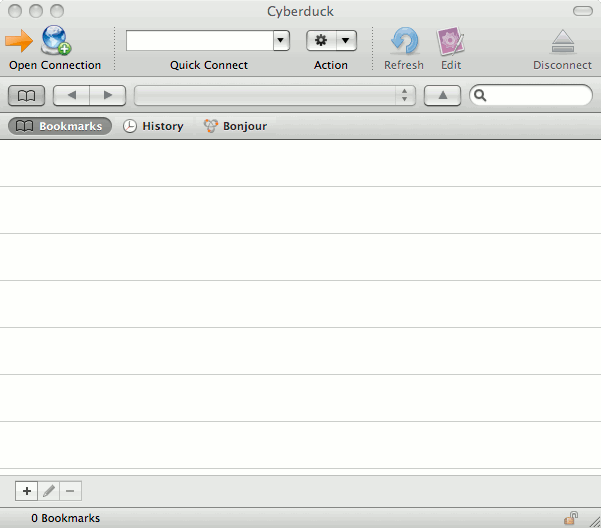
Click “Open Connection” (indicated by the arrow icon above), and you’ll be presented with several fields. Make sure “SFTP” is selected in the pull-down control shown at the top of the window. Enter your Linode’s IP address (shown on the “Remote Access” tab of the Linode Manager) into the “Server” field. If you’ve configured DNS to point a domain name to your Linode’s IP address, you may enter it instead. Specify the username you’d like to use for the connection in the “Username” field. Please note that this should be the name associated with a user account on your Linode; if you’re in doubt or haven’t created any additional user accounts yet, enter “root” as shown below. Enter your user account or root password in the “Password” field, and optionally check to box to add these credentials to your Mac’s keychain.
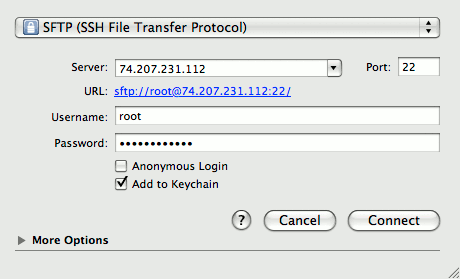
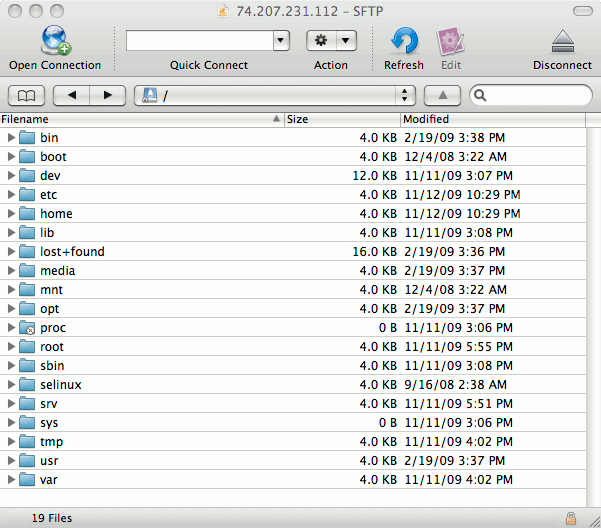
Click “Connect” to log into your Linode, and you’ll be shown the contents of the home directory for the user you’ve logged in as. In this example, we’ve logged in as the “root” user.

To navigate up the directory tree on your Linode’s filesystem, click the control indicated by the arrow in the diagram displayed above. In this example, Cyberduck navigates one level up to display the contents of “/” on the remote filesystem.
You may double-click any folder (directory) to view its contents. Files may be copied to and from your Mac by dragging and dropping them to or from a Finder window.
Connecting Without a Password (SSH Keys)
If you’d like to use SSH keys to allow access to your Linode without the need to specify a password, you’ll need to make sure you have an SSH keypair generated on your Mac. To verify this, open a terminal (you can search for “Terminal.app” on your Mac to find the version included with your operating system) and type the following command:
ls ~/.ssh/
If you see a list of files including id_rsa or id_dsa, you already have keys on your workstation. If you don’t see such files listed, issue the following command to create a keypair:
ssh-keygen -t rsa
Next, you’ll need to copy your public key (created as id_rsa.pub) to your Linode. Issue the following commands to do so. If your files are called id_dsa and id_dsa.pub, change the command accordingly. Substitute the name of the user account you wish to log into on your Linode (or “root”) for the “user” portion of the command, and substitute your Linode’s IP address or domain name for the “hostname.com” portion of the command.
scp ~/.ssh/id_rsa.pub user@hostname.com:~/.ssh/uploaded_key.pub
ssh user@hostname.com "echo \`cat ~/.ssh/uploaded_key.pub\` >> ~/.ssh/authorized_keys2"
Test the ability to log in without a password by issuing the following command:
ssh user@hostname.com
If you’re asked for a password, please double-check the preceding steps in this section. If you’re logged into your Linode, you may type exit to close the SSH connection. Provided you were able to log in without entering a password, return to Cyberduck and click the “More Options” control in your connection editor. Check the box labeled “Use Public Key Authentication” as indicated below.
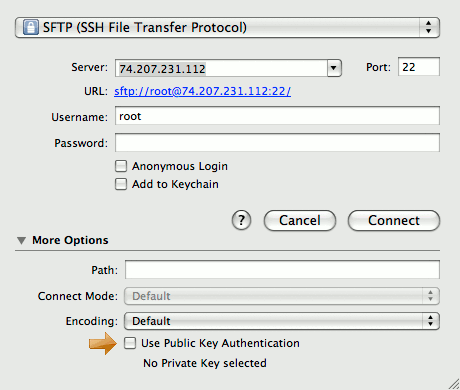
In the window that appears, select the id_rsa or id_dsa file contained without the .ssh directory. Click “Open” to verify the selection. You should now be able to connect to your Linode without entering a password in the “Password” field of the connection details window.
Bookmarking Connections
You can bookmark your connection for later use via the “Bookmark” toolbar menu at the top of your screen, which will display a window similar to the following:
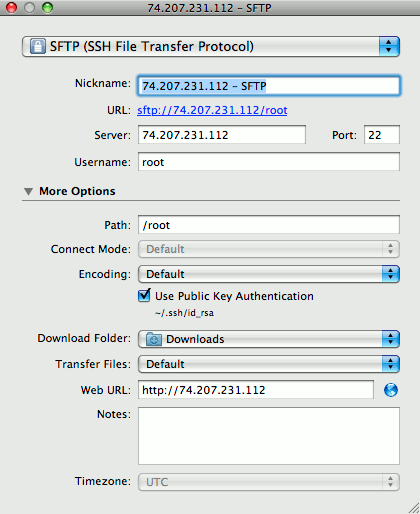
This allows you to maintain connection information for multiple servers or user accounts in an easily accessible manner.
More Information
You may wish to consult the following resources for additional information on this topic. While these are provided in the hope that they will be useful, please note that we cannot vouch for the accuracy or timeliness of externally hosted materials.
Join our Community
Find answers, ask questions, and help others.
This guide is published under a CC BY-ND 4.0 license.